よりスマートに、よりハードに:追加開発者がProject Developmentを加速させる方法
スピードが速く、常に進化し続ける今日のビジネスシーンにおいて、成功するためには、よりハードに働くのではなく、よりスマートに働くことが不可欠です。IT業界では特にそうで、革新的で...
 戻る
戻る
最近では、クラウド・ソリューションがオフィス業務専用のデスクトップ・アプリを押し出しつつある。最大のオフィス・スイートの1つはGoogleが提供するもので、ドキュメント、スプレッドシート、プレゼンテーションが含まれている。
あなたの仕事は他人の仕事を監督することで、通常は報告書を書くことになると想像してほしい。あなたは物事を標準化し、一般的なものにしたいので、管理する必要があるもののリストとコメント用のセルを含むスプレッドシートを作成しました。たとえば、あなたはデジタルの品質管理責任者だとします。 製品.そうすると、スプレッドシートは次のようになります:
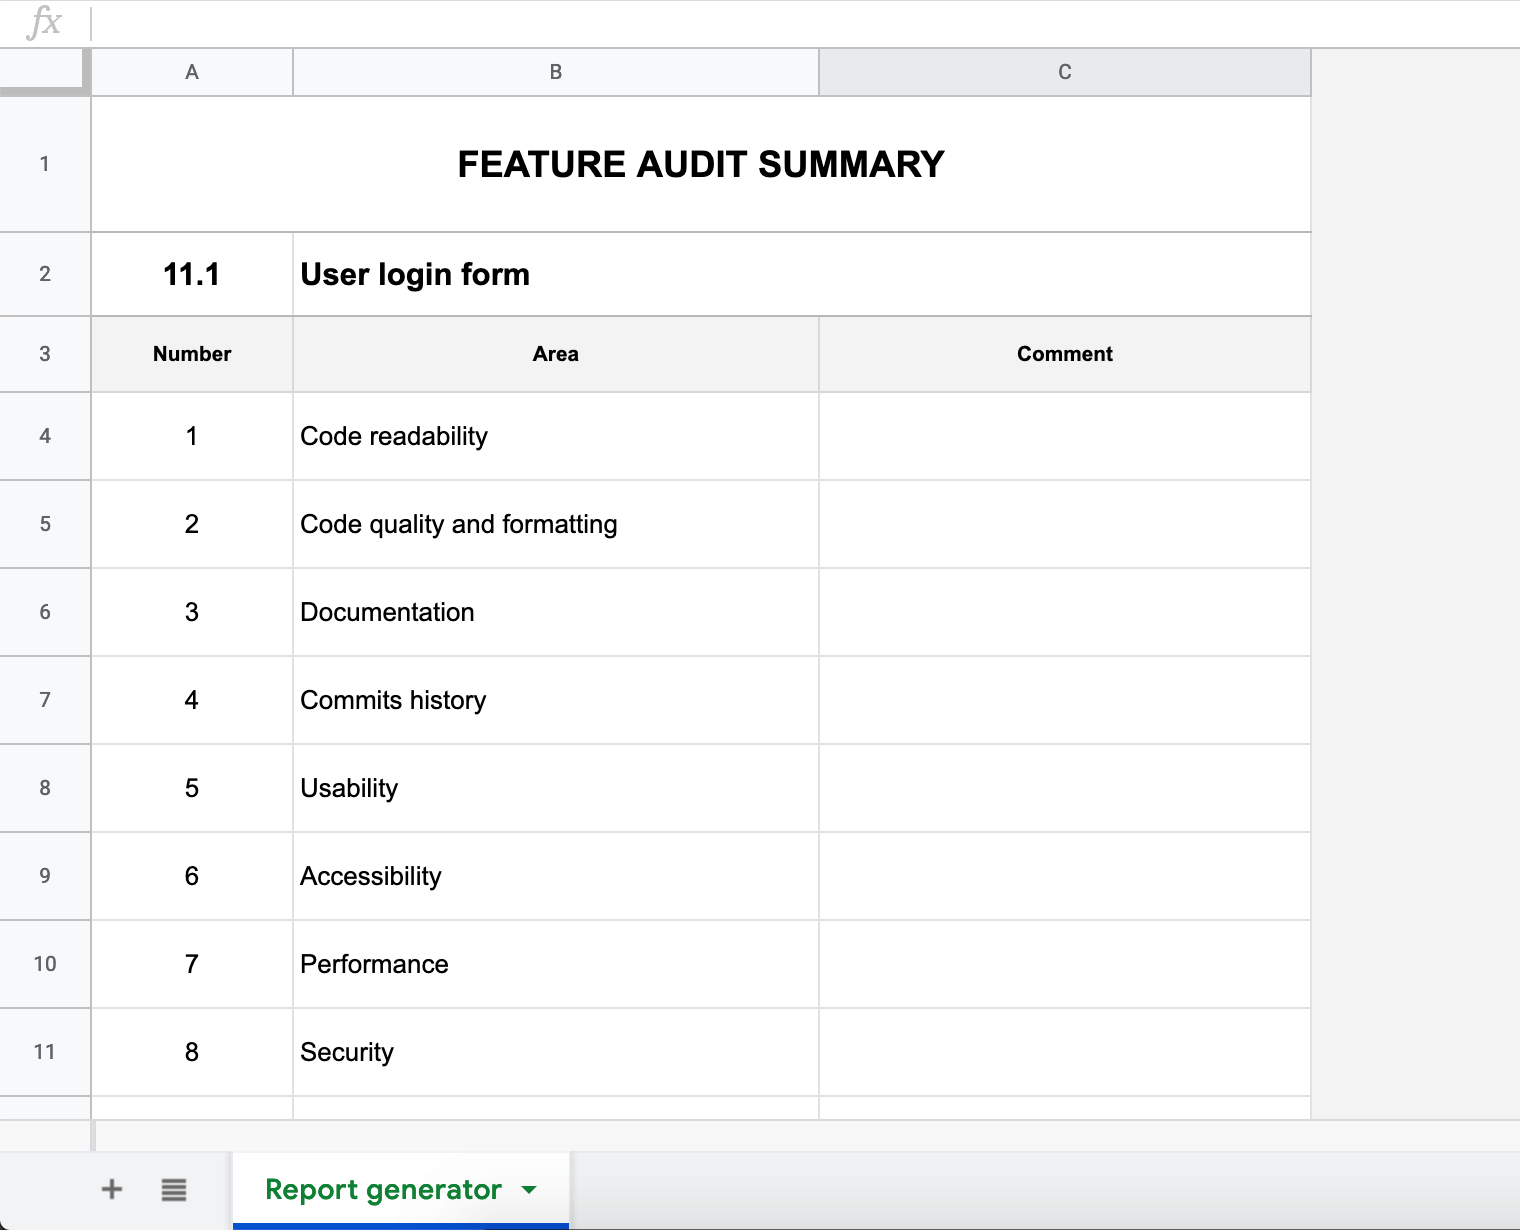
上の例では、いくつかのことがわかる:
このシートは "レポートジェネレーター "と呼ばれている。この文書がどのようにして本当に便利なツールに進化し、誰かの仕事の結果の質を評価できるようになるかを紹介するからだ。
何らかの結果を数値化したいのであれば、1~10点などの尺度を使うのがベストだろう。
同じドキュメントに新しいシートを作り、それを "Config "と呼び、保護されたものとして定義しましょう(少なくともその名前にキーロックの絵文字を付けましょう)。このシートは、以下のようないくつかの定義済みオプションを保持するためだけのものです:
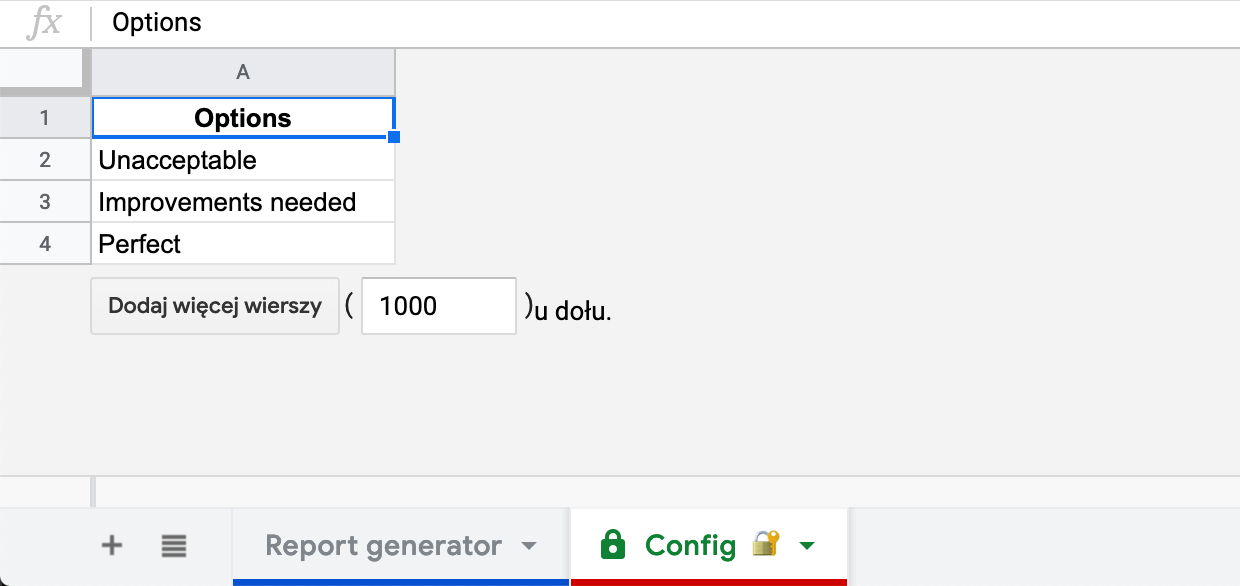
これらの値をドロップダウンに入れることができます。 レポートジェネレーター シートを使用します。 データ検証 が特徴だ。 ここ をご覧ください:
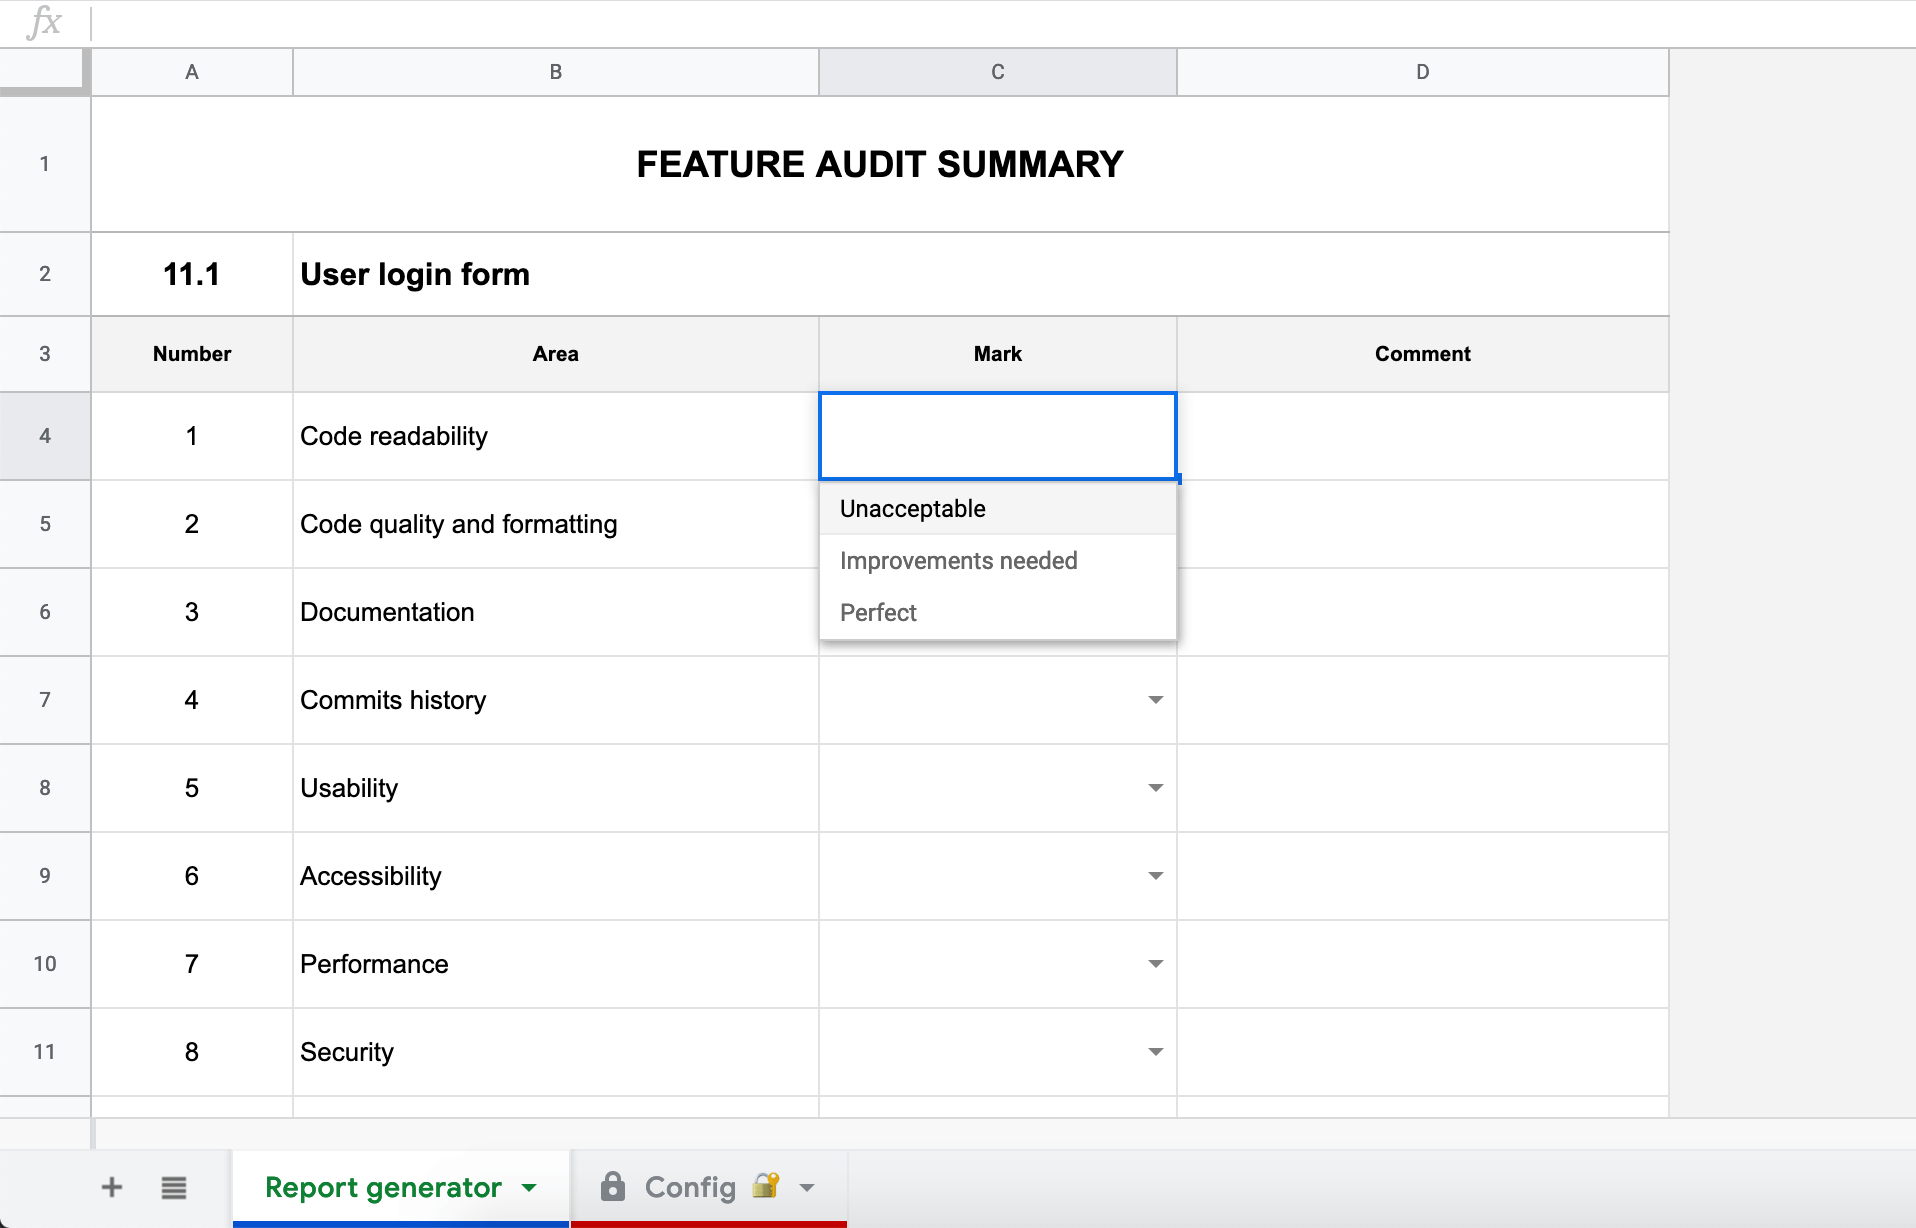
このようにして、評価を簡単に数値に変換することができます。 IF 式で表します。あなたのスプレッドシートは人にやさしく、同時にあなたの結論は定量化(測定可能で比較可能)される。
この文書はすっきりしている。 監査 が増えてくると、チェックすべき項目が何百も出てくる。空のフォーム・テンプレートを保存しておき、新しいレポートを作成するたびにそれをコピーすることもできるが、ドキュメント・リストとスプレッドシートを切り替えるのは非常に煩わしい。そこで自動化を考え始めるのだ。

コーディングを始める前に、一括アクション用のボタンをいくつか用意しましょう。上の例によると
また、監査が終わったときに新しいファイルを保存するためのアクションが1つ必要になる。
まずは レポートジェネレーター ボタンを含む機能エリア。
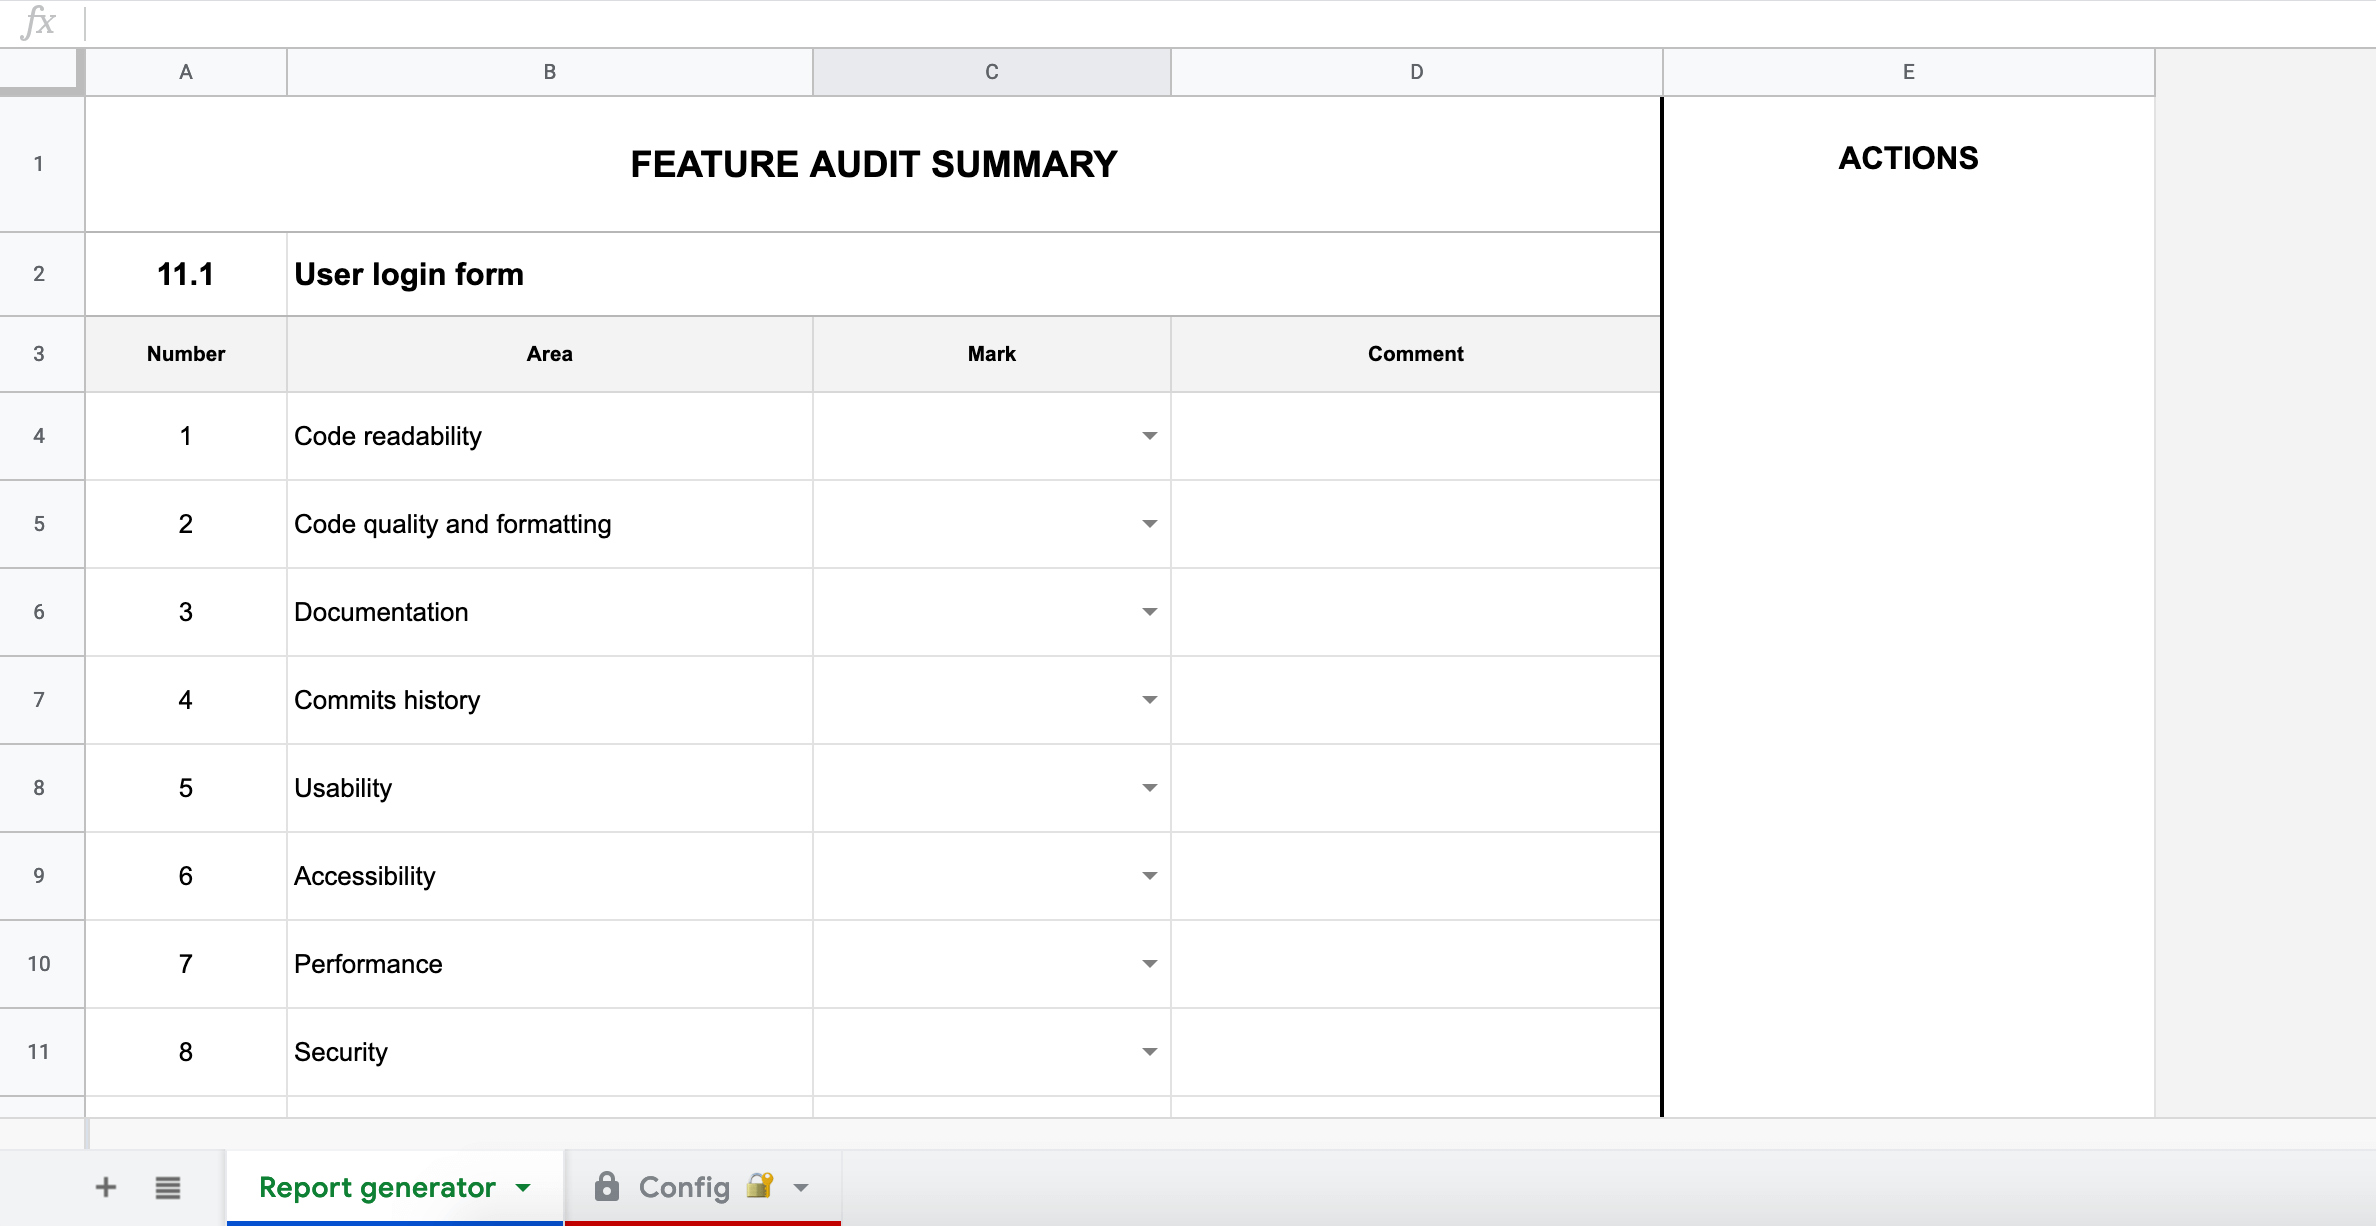
そして 挿入 -> 描画では、ボタンをひとつずつ追加していこう。
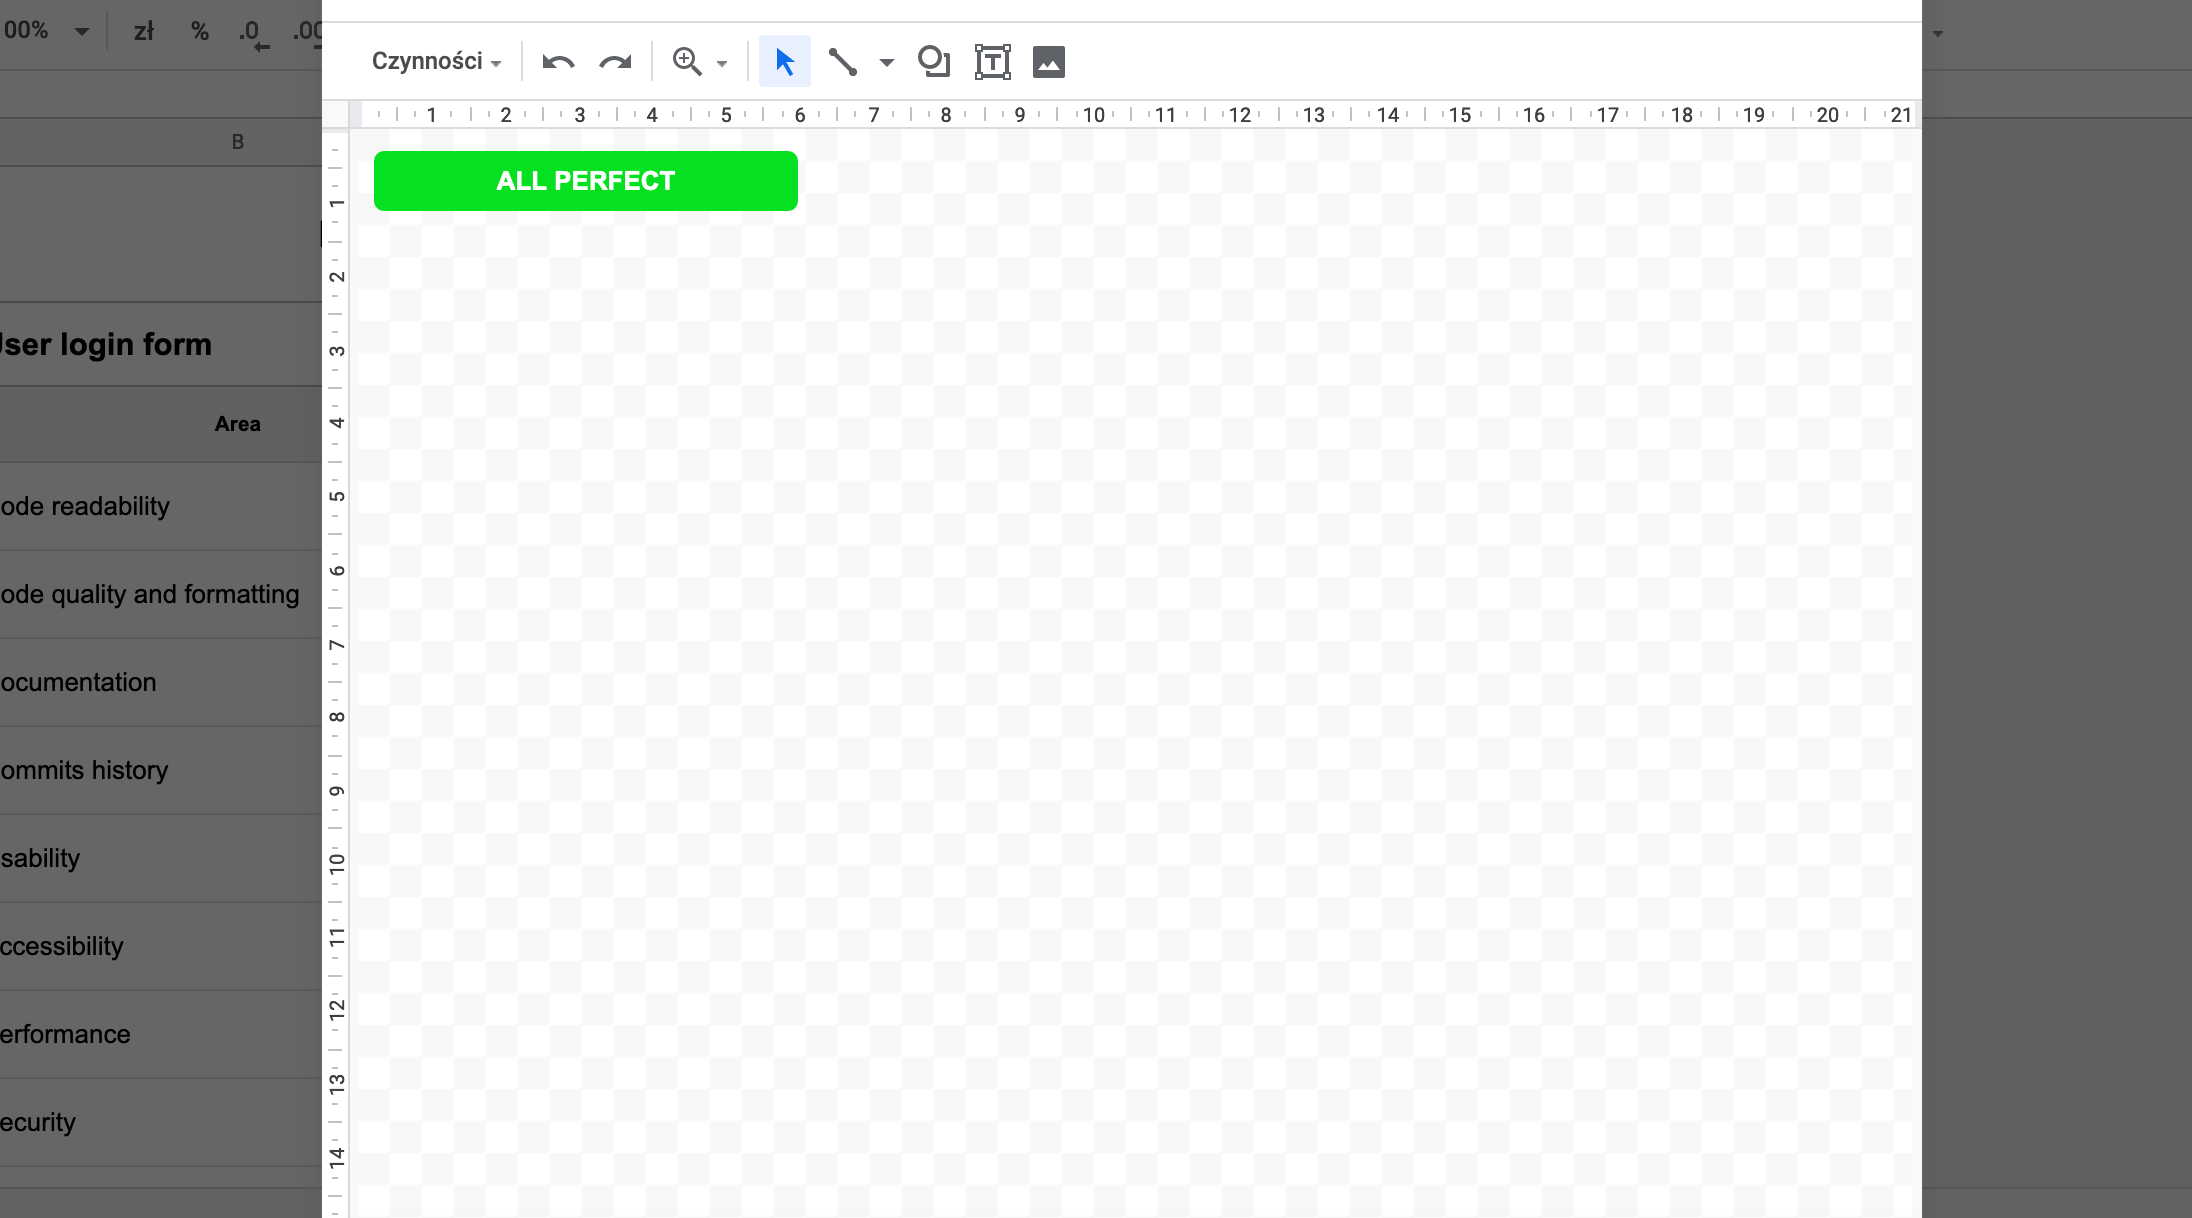
サンプル・ドキュメントはこのようになります:
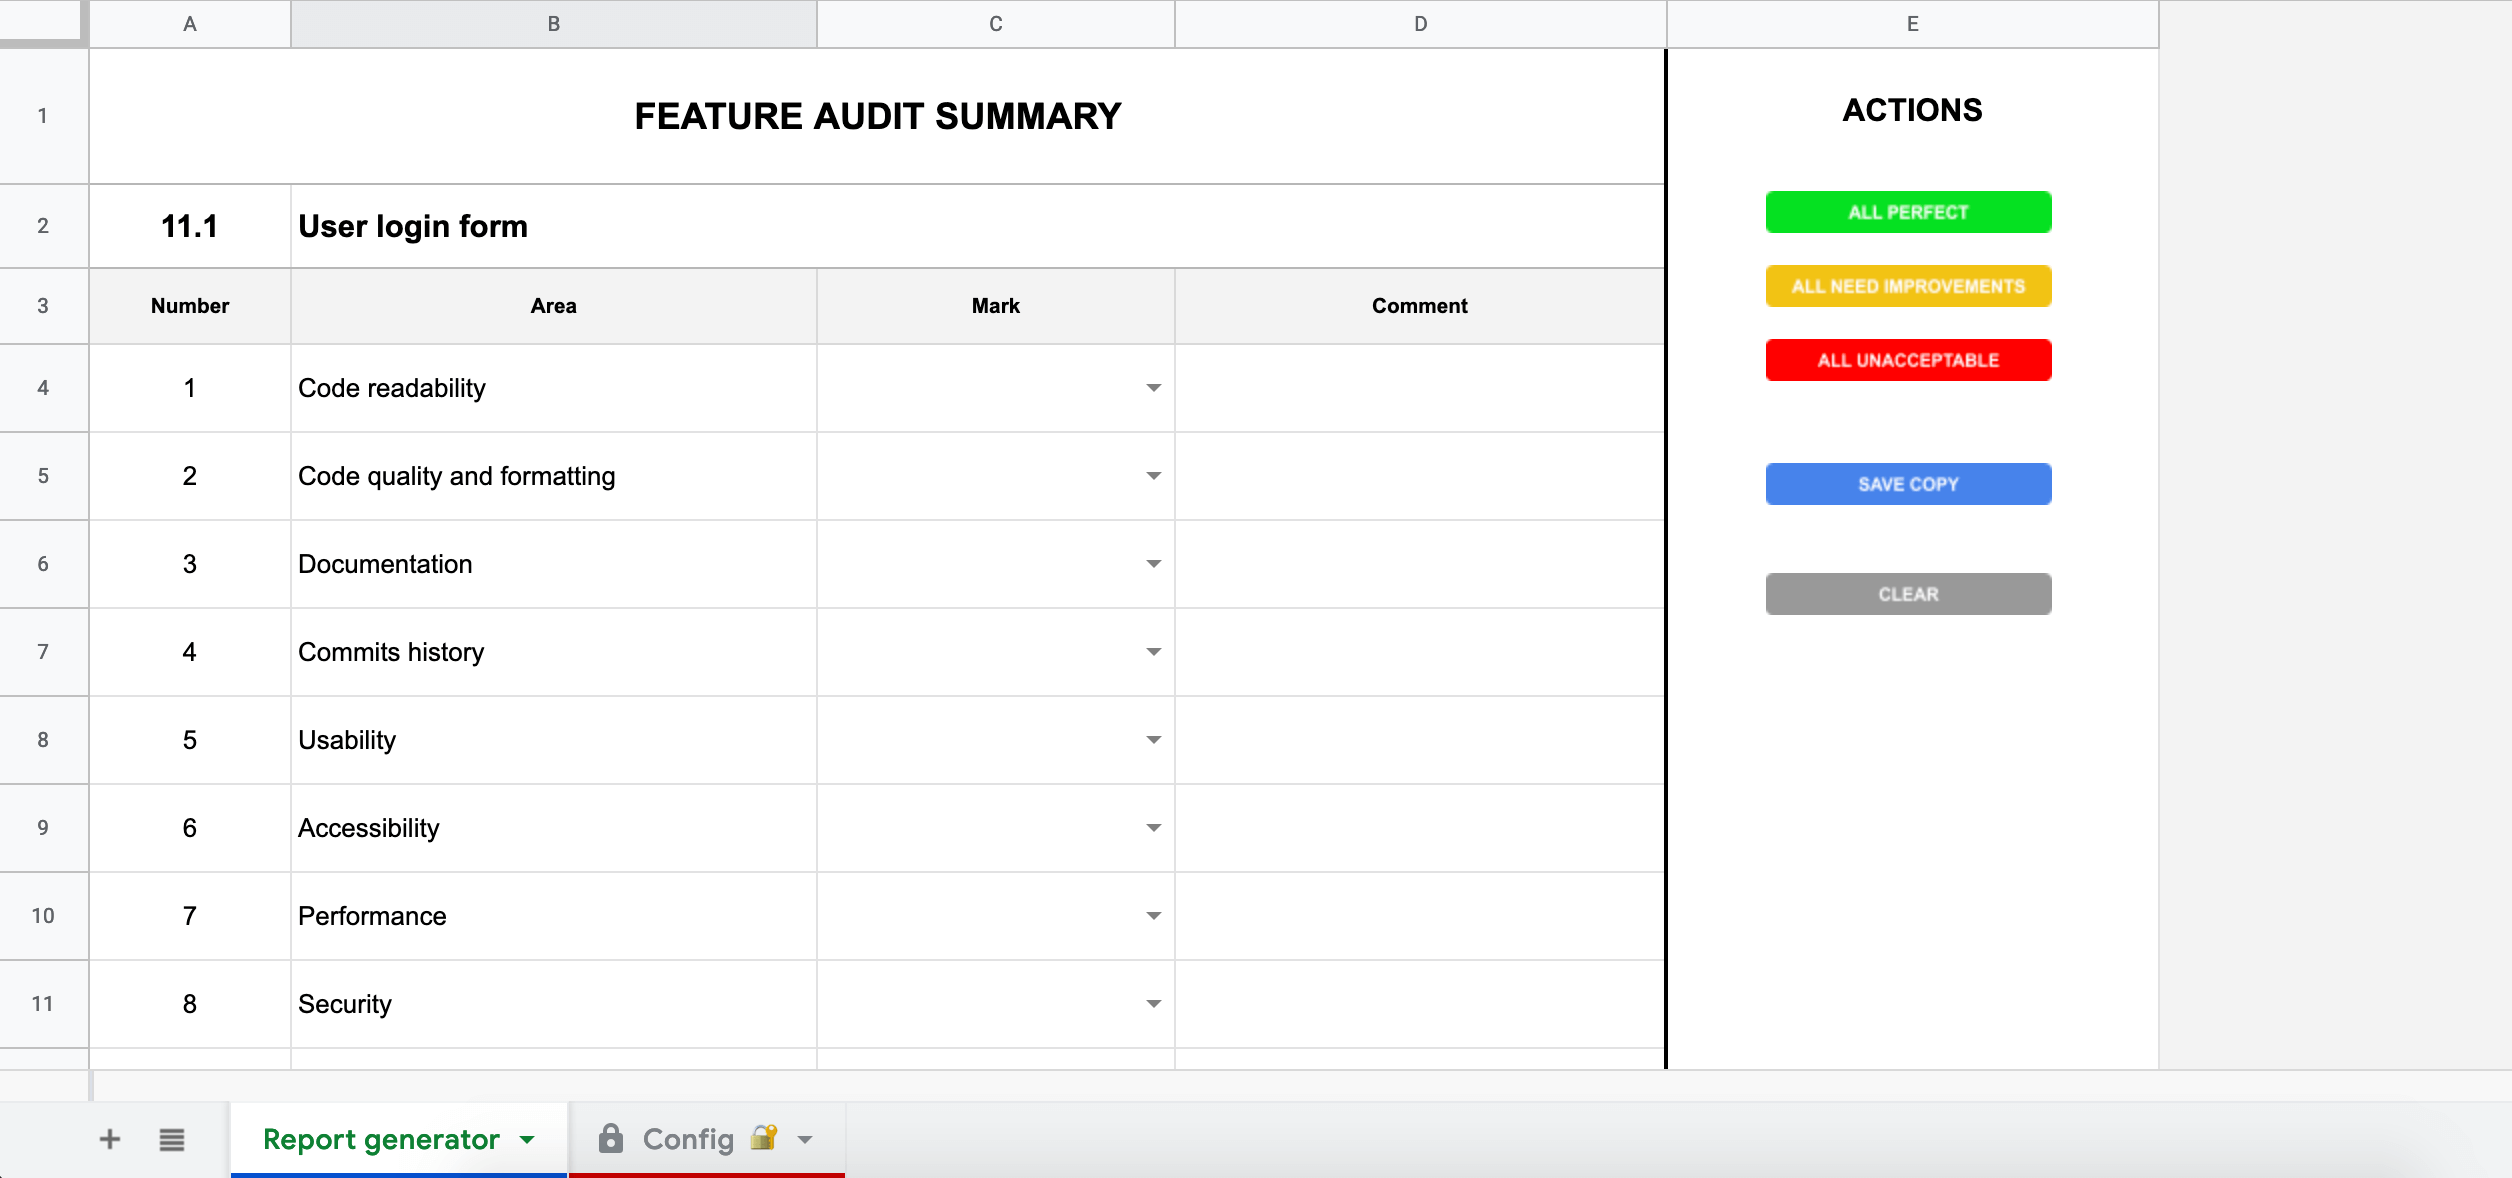
この美しいUIにロジックを追加する準備が整いました!始めるのはとても簡単です。 ツール -> スクリプトエディタ をクリックすると、ブラウザが新しいカードにジャンプします。
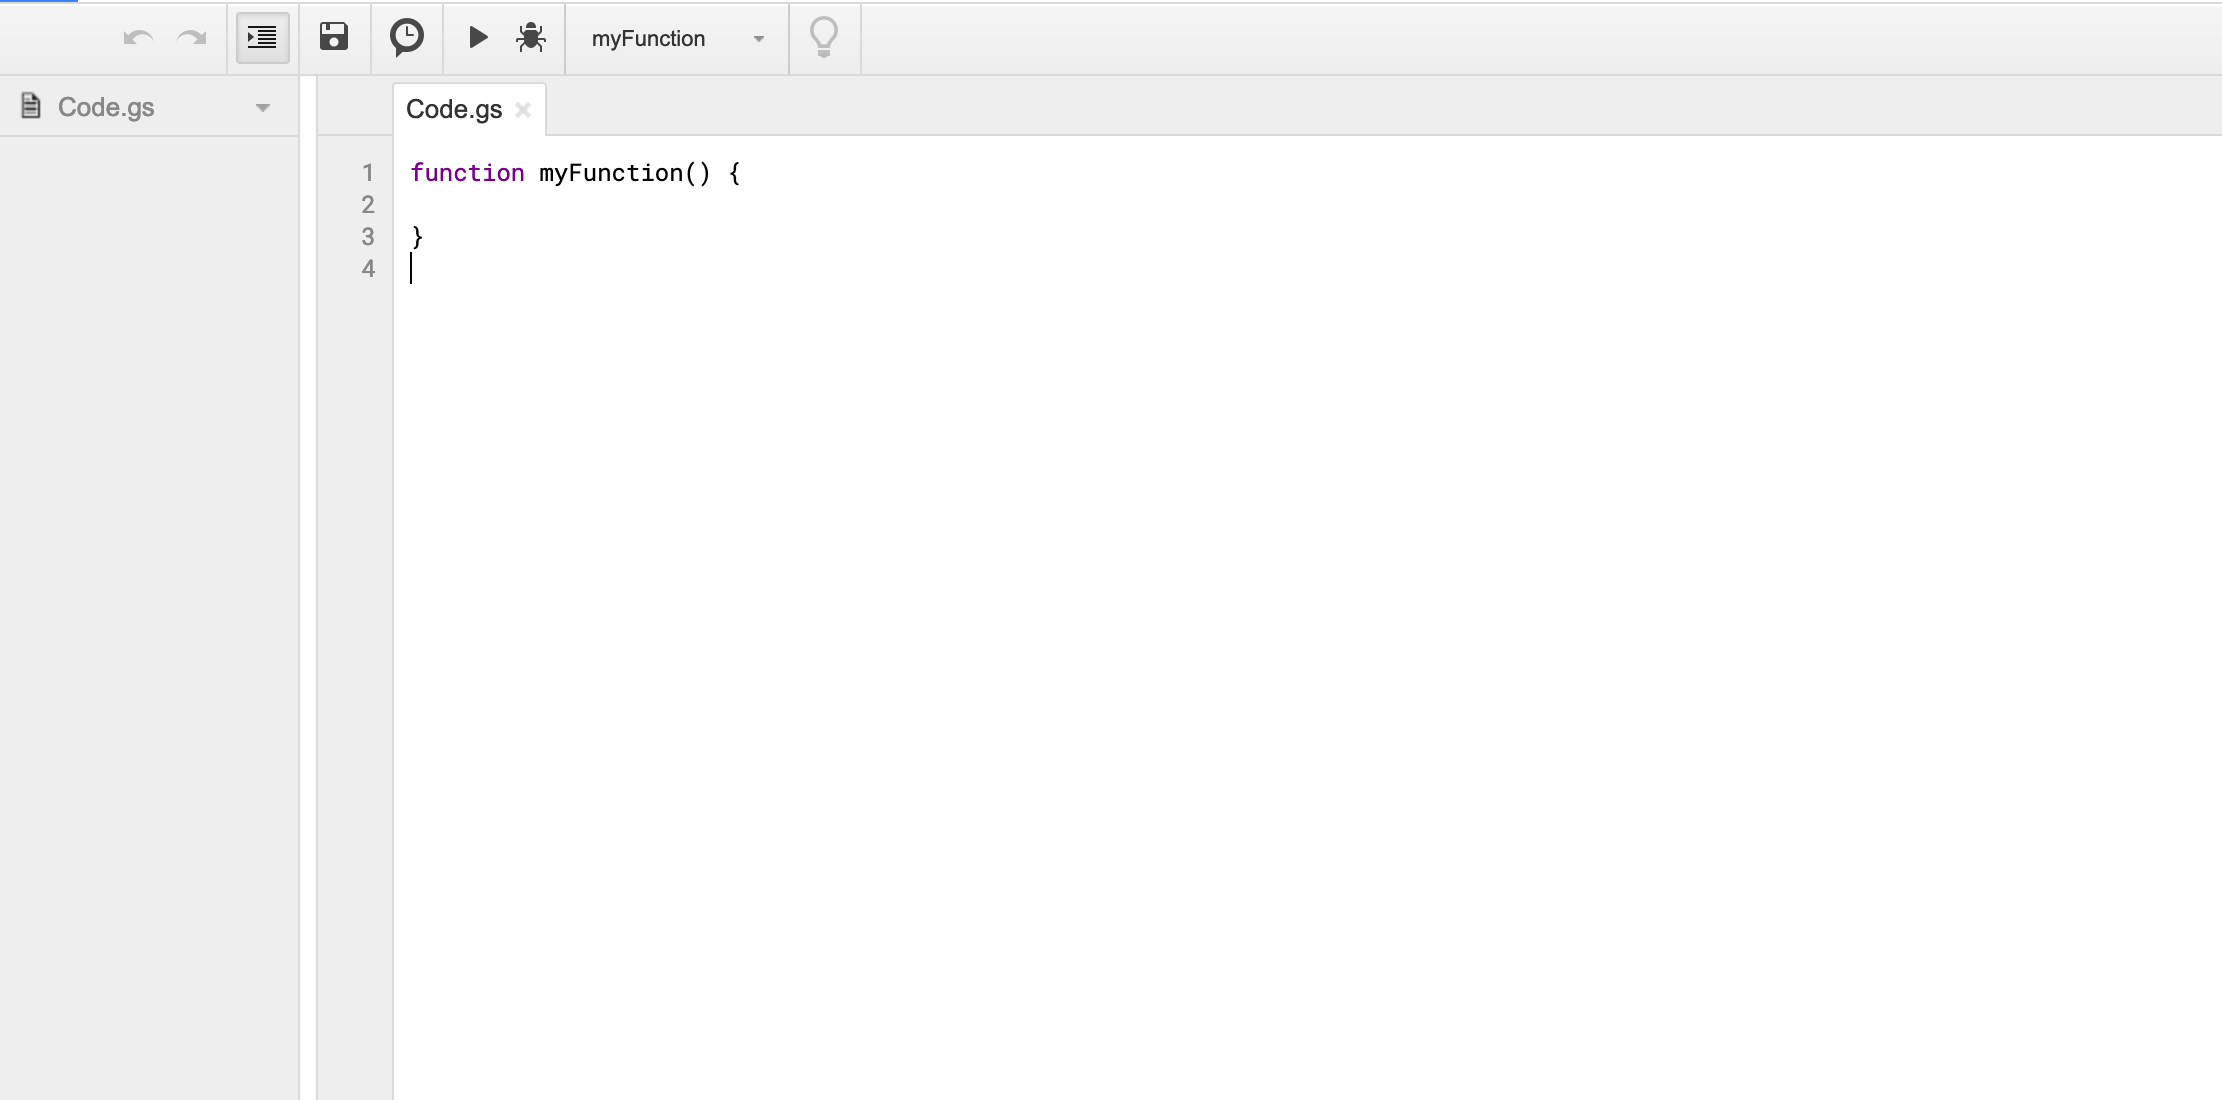
エディターのインターフェースは非常に直感的だ。もしあなたが コード エディターを使えば、簡単にファイル名を変更したり、新しいファイルを作成したりすることができます (ファイル -> 新規作成 -> スクリプトファイル).
グーグル・アップス・スクリプト は、いわばJavaScriptのいとこに過ぎない。JSを知っていれば、GSの熟練も夢ではない!
最初のステップは、必要と思われる参照を一箇所に集め、意味のある名前をつけることだ。デフォルトの マイファンクション 宣言に、より有用なものを入力する。 コード.gs ファイル。
var spreadsheet = SpreadsheetApp.getActiveSpreadsheet()

// シートの参照

var report = spreadsheet.getSheets()[0] // シートの参照
var config = spreadsheet.getSheets()[1]。
上記のコードは極めて自明なものだが、絶対的に明確にする:
これでさらに進んで、スプレッドシートから有用なデータを取り出せるようになった。
// 編集可能な領域 (ドロップダウンのあるセル)

var dropdowns = report.getRange('C4:C13')

// サブタイトル(機能名)を持つセル

var featureName = report.getRange('B2').getValue()

// 'Config' シートからのオプション
// getRange()メソッドに単一のセルを渡すことができることに注意してください。
// オプションを変更しても、スクリプトの機能には影響しません。

var values = {
unacceptable: config.getRange('A2').getValue()、
improvements_needed: config.getRange('A3').getValue()、
perfect: config.getRange('A4').getValue()、
empty: ''
};
あとは、ボタンに割り当てる関数を定義するだけだ。
// ボタンの機能

関数 allPerfect() {
dropdowns.setValue(values.perfect)
}

関数 allNeedImprovements() {
dropdowns.setValue(values.improvements_needed)
}

関数 allUnacceptable() {
dropdowns.setValue(values.unacceptable)
}

function clear() {
dropdowns.setValue(values.empty)
}

関数 copy() {
var copy = spreadsheet.copy(featureName + ' - report')

// これで、同じ値を持つ 2 つのシートがコピーされました。
// しかし、名前は(接尾辞 "copy" で)変更されています、
// この場合、元の名前を付けなければなりません。

// レポート・シートの名前を変更する
copy.getSheets()[0].setName(report.getName())

// 設定シートの名前を変更する
copy.getSheets()[1].setName(config.getName())
}
について コピー メソッドは、自動的に新しいスプレッドシートを作成します。 「ユーザーログインフォーム - レポート現在のもののすぐ隣にある。
先に作成したボタンにメソッドを割り当てます。選択する スクリプトの割り当て ボタンを右クリックすると...
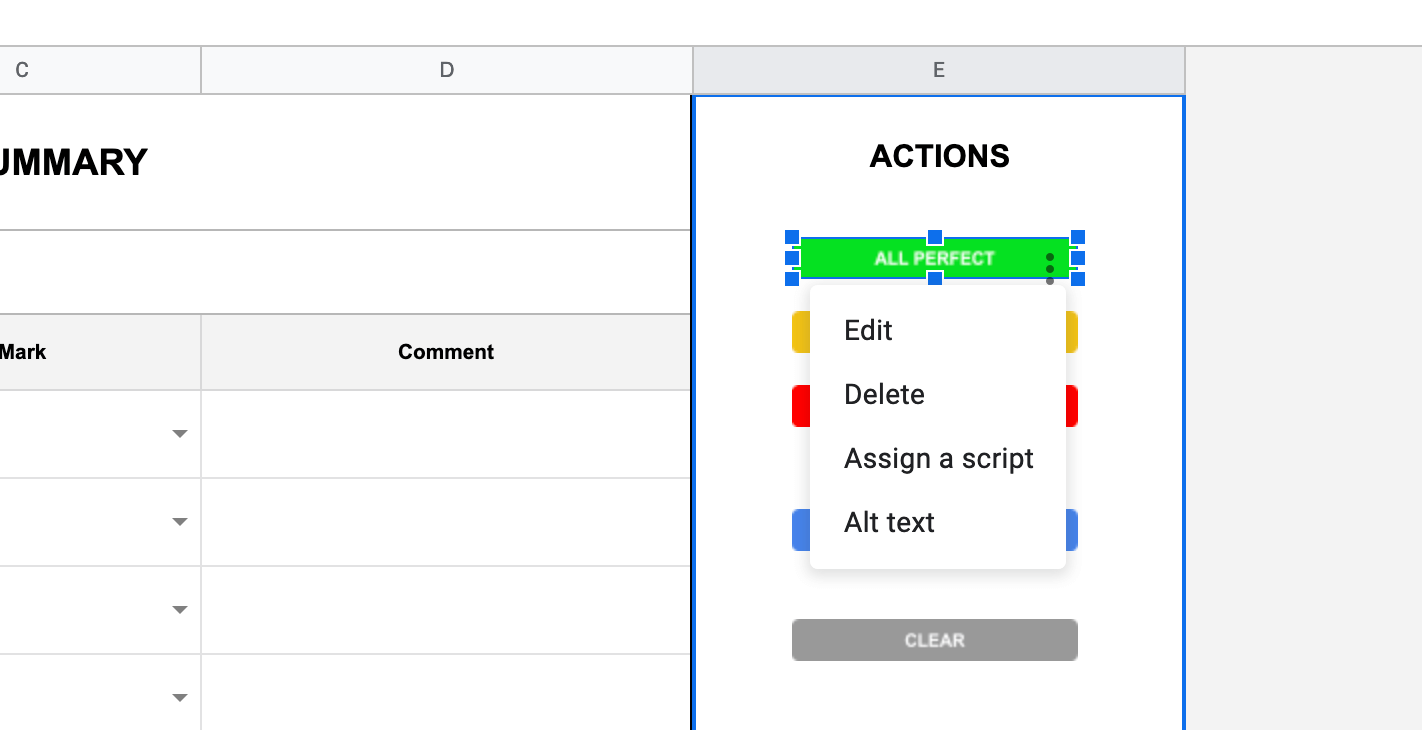
...そしてメソッド名を入力する。 オールパーフェクト

ジェネレーターを閉じる必要はありません。一括アクションを使用して、新しいレポート用のフォームを準備し、機能名を変更し、別のコピーを保存します!
の可能性 グーグル・アップス・スクリプト は非常に多岐にわたるため、それらすべてについて論じると、一連の記事全体が必要になってしまう。オフィスワークの最適化にご興味があれば、お気軽に 公式ドキュメント そして、あなたのシーツをよりスマートにする!
世の中には本当に便利なハックがいくつかある。 この より xfanatical.com GoogleスプレッドシートからPDFへのエクスポートについて。
この記事で説明する例は これ.気に入るといいね。楽しんで!